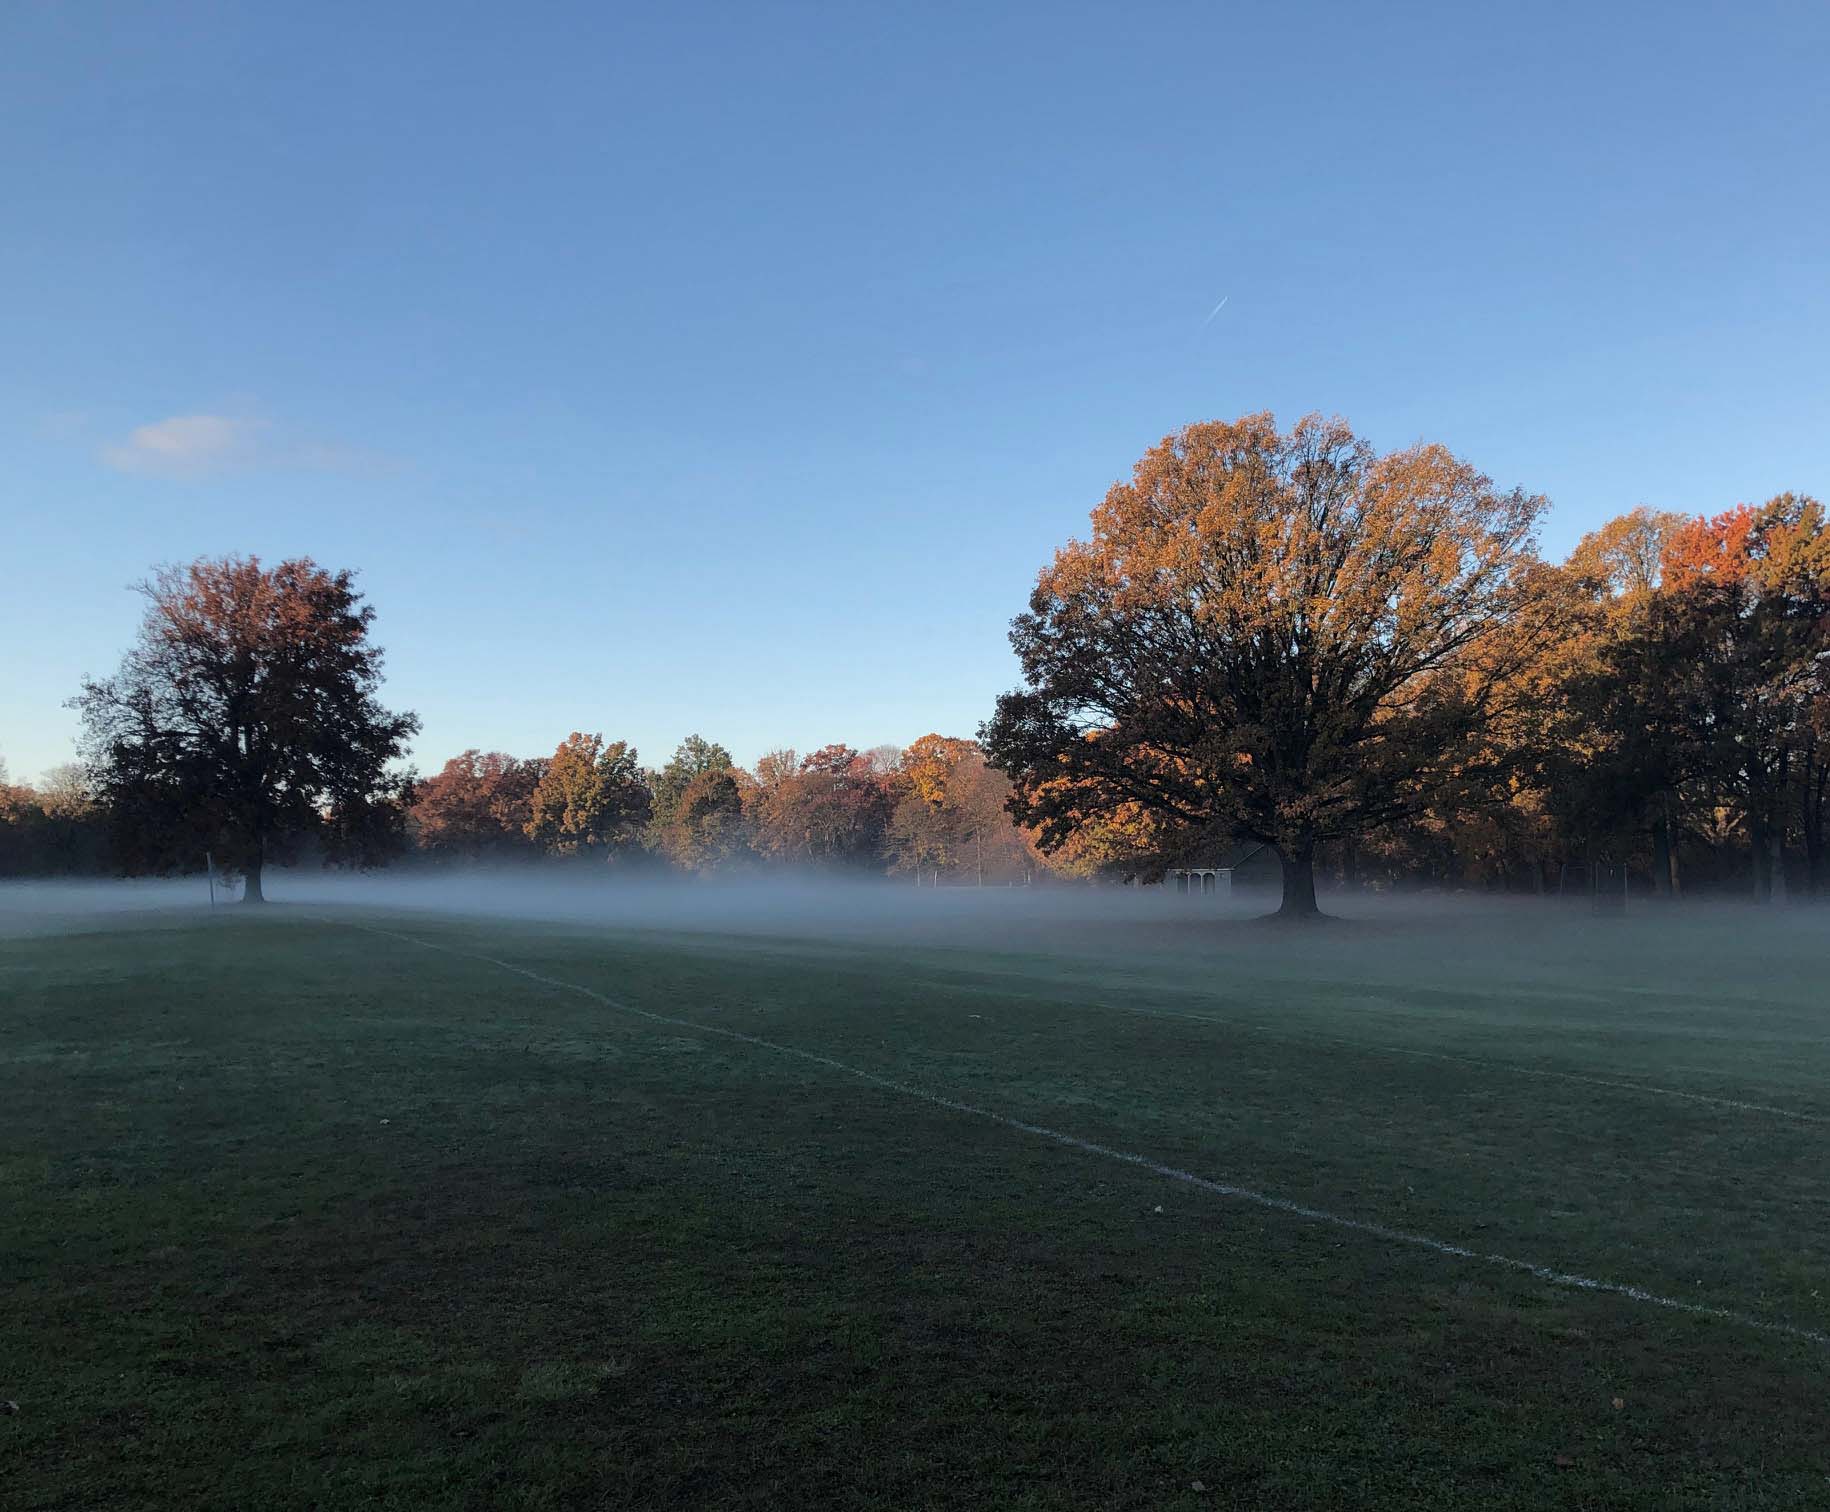
It started with an early morning walk through a park. The fall colors were peaking, the sky was clear, the sun turned the tree tops gold and there was a thick layer of pale blue mist on the ground! It was such an extraordinary scene, I resolved to make a new block print. So I picked my favorite photo, mentally reduced it to 8 colors and started carving. It had been nearly two years since I have ventured into the Flower City Arts Center to get on a letterpress and make a new block print. It seemed unwise to hang out with other folks in an indoor facility during a pandemic. But artistic inspiration, combined with a plan to use the press when no sane person would consider being there (4:00 or 5:00am), had sent me back.
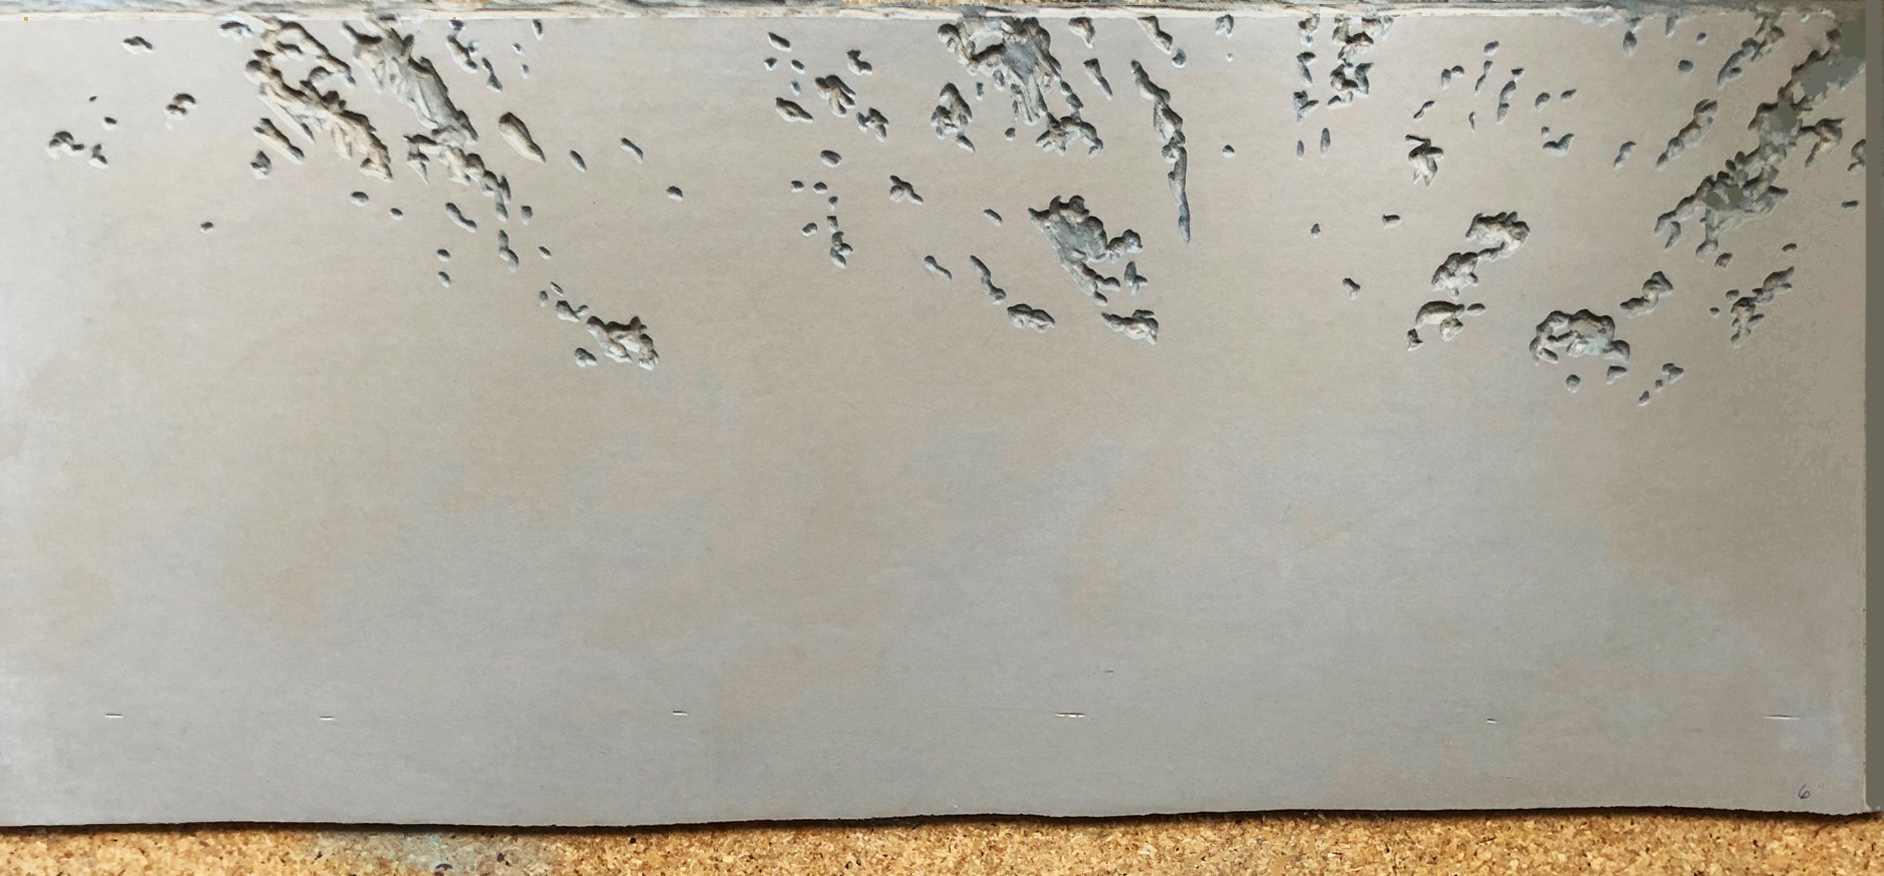
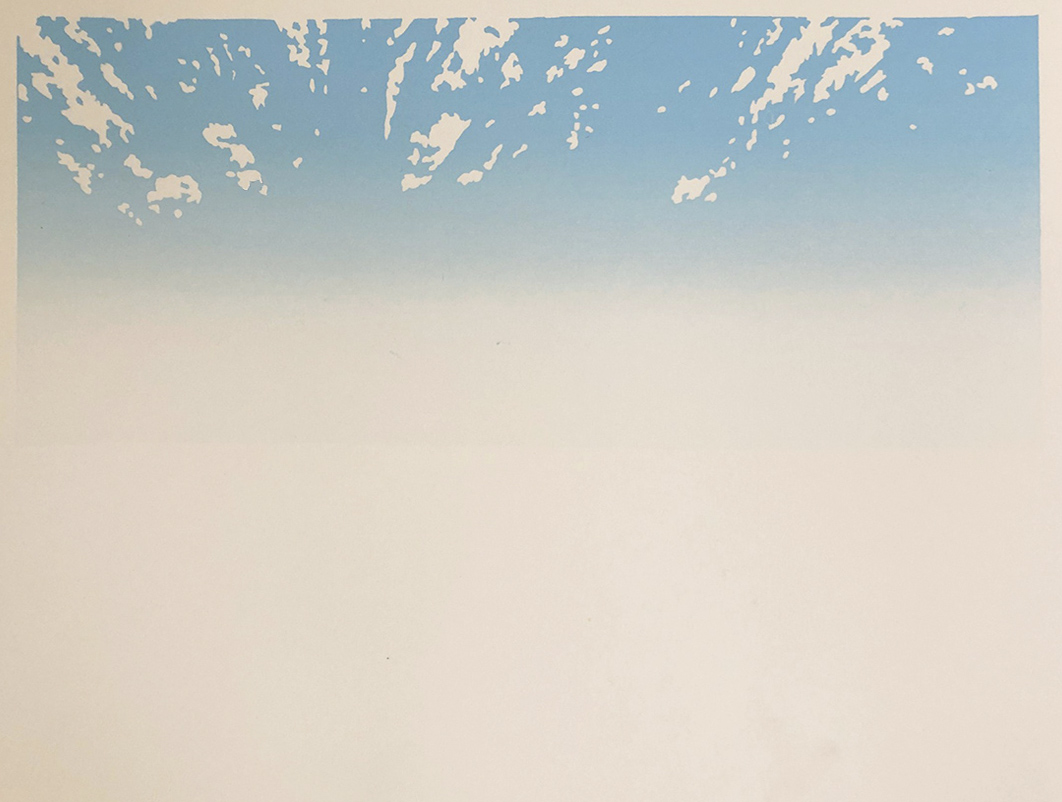
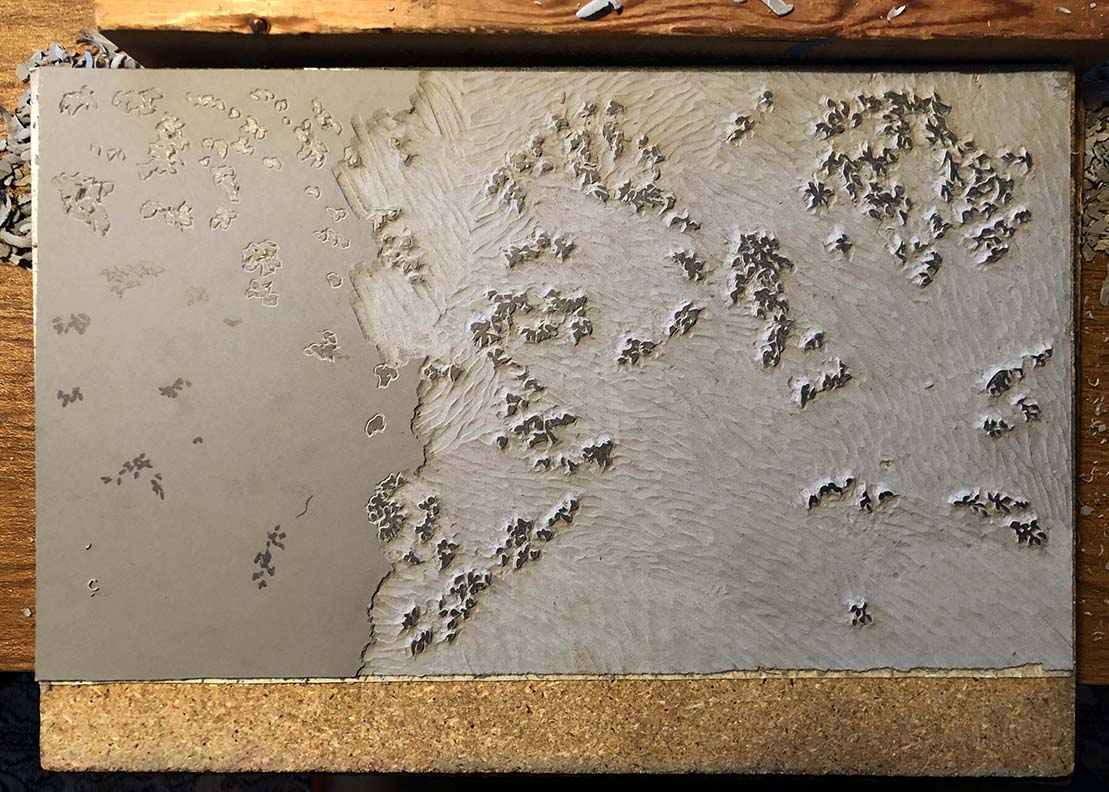
The first carving would print the sky. It would be a gradient, fading to white as it reaches the trees, with holes cut out of it where sunlit leaf shapes would have to fit. Bob and I get to the printing center at 5am, and I mix up a sky blue ink. Above is the finished carving and the first stage of the print.
Now comes the challenge of carving shapes that will fit perfectly in those funky white spaces in the sky. Plus adding some treetop shapes below. Carving finished, I mixed up orangey-yellow ink and made some prints…
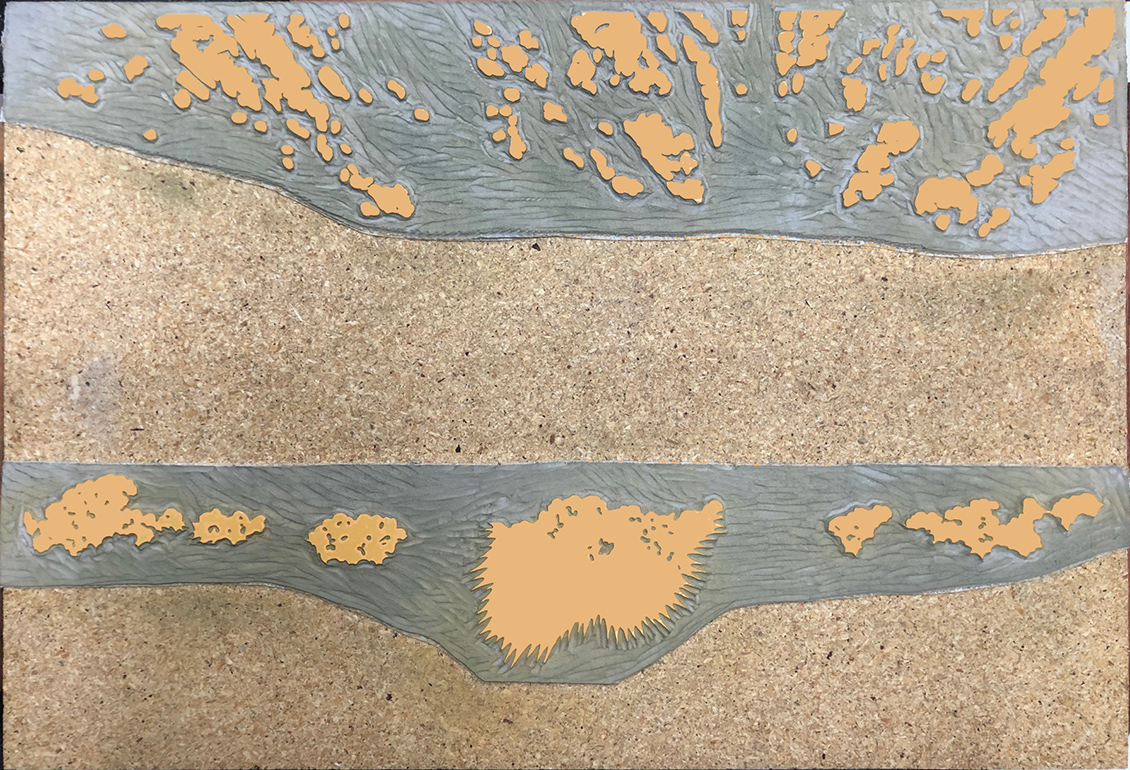
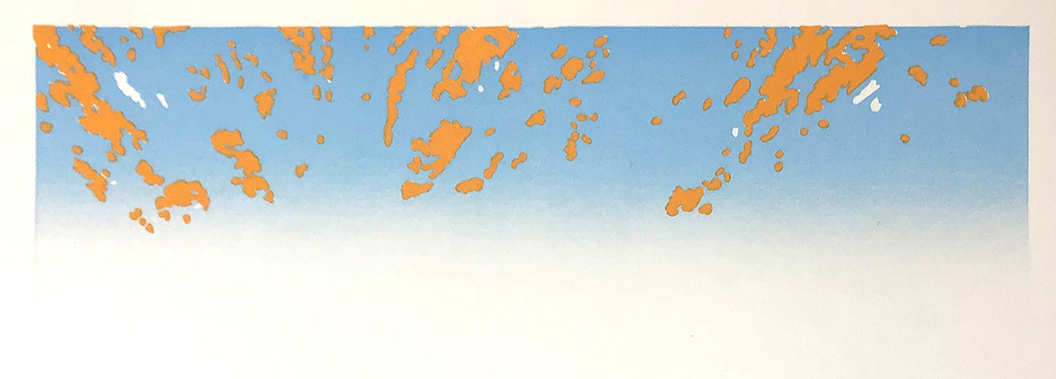
OH NO. (Those were not my exact words.) I missed several spots! How did this happen?? Gotta do that Sharpie tracing, transferring, and carving all over again! This time I am very careful not to carve away any important shapes. (With relief printing, you carve away the negative space, and leave the shapes you want to print.) After a new carving, all the orange shapes perfectly fill in their white sky holes.
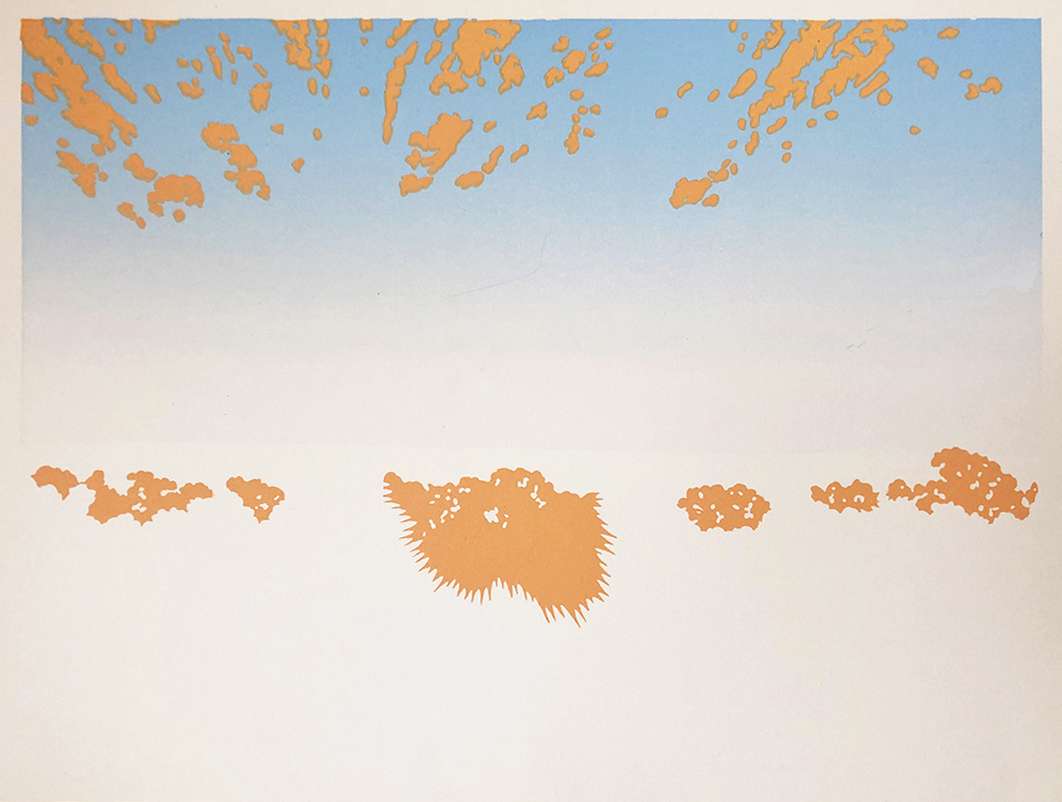
Next I want to print little red-orange leaves inside the light orange shapes, and a few red-orange trees in the grouping below. I lay a sheet of clear acetate over a print, and do a sharpie drawing for the next carving. This drawing gets transferred onto the previously carved block. I carve away everything but the new drawing.
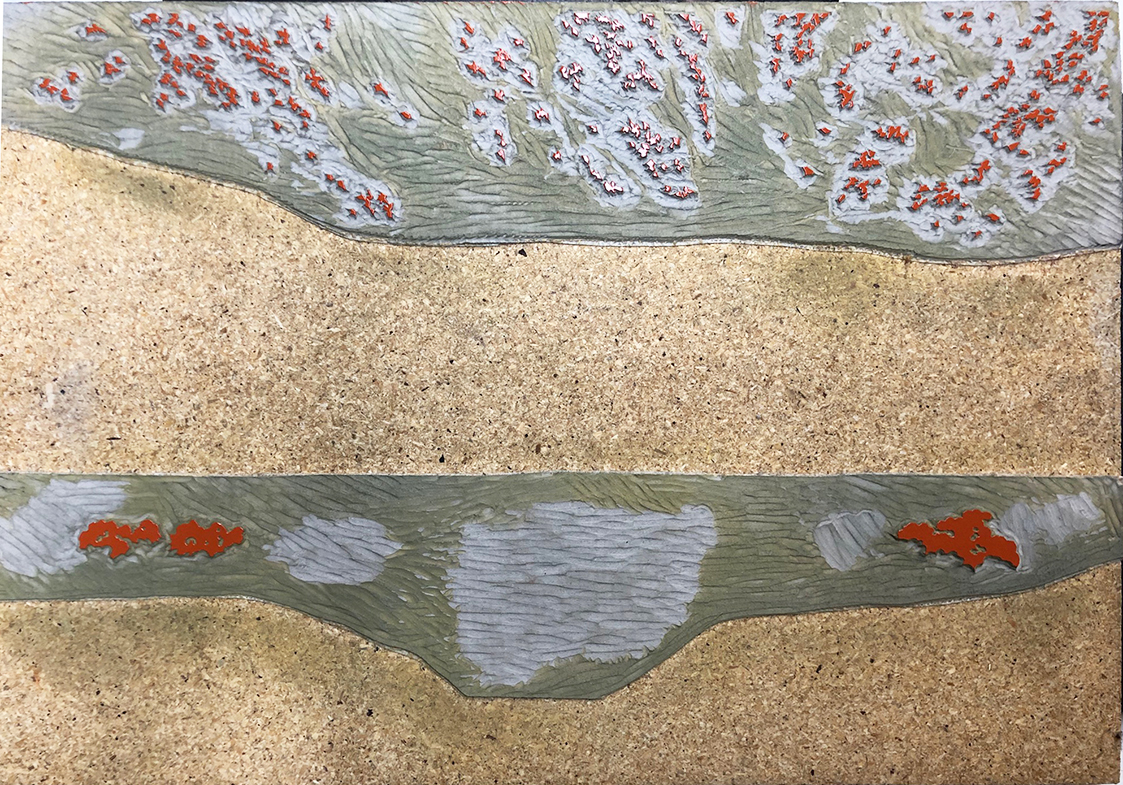
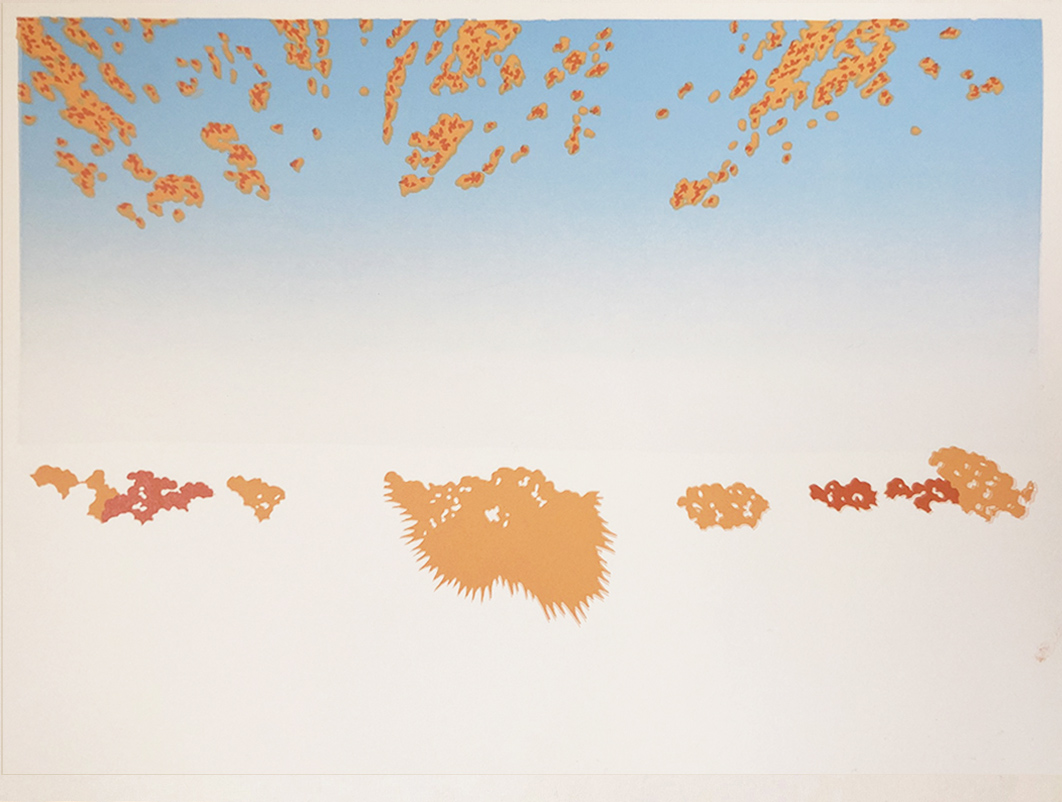
Here the print now has red-orange leaves and trees. You can see how using the previous carving made it easier to overprint the red tree shapes in the lower section.I make over 100 prints like this, and then, as I keep printing, something strange happens…
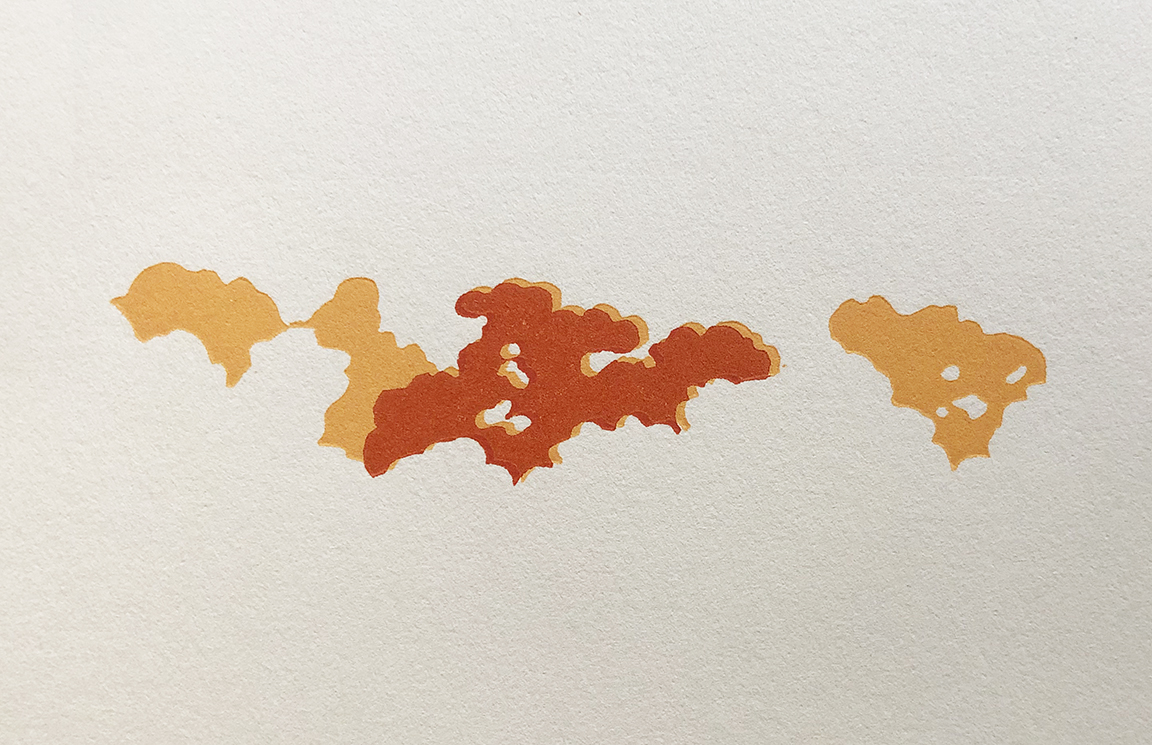
I notice that the red trees on the left are gradually moving out of position and not registering anymore! How can this be?? I run several prints, readjusting the paper position repeatedly, but nothing works.The small linoleum shape must have been gradually pushed out of position by the pressure of the rollers. This happened once before when I was printing very small shapes on “Sunlit Stream.” There is no way to fix this. I call up Bob, he says “Don’t make yourself crazy,” so we agree that the only thing to do is to just cut that little shape right out of the carving, and print the rest without it.
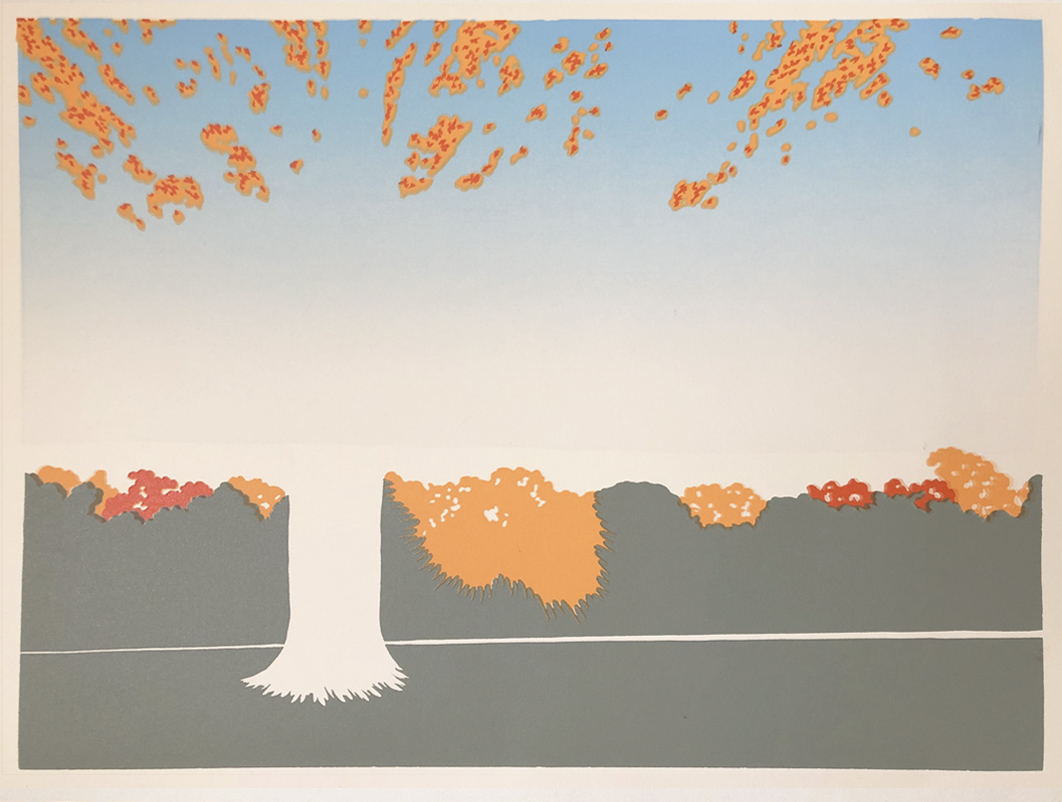
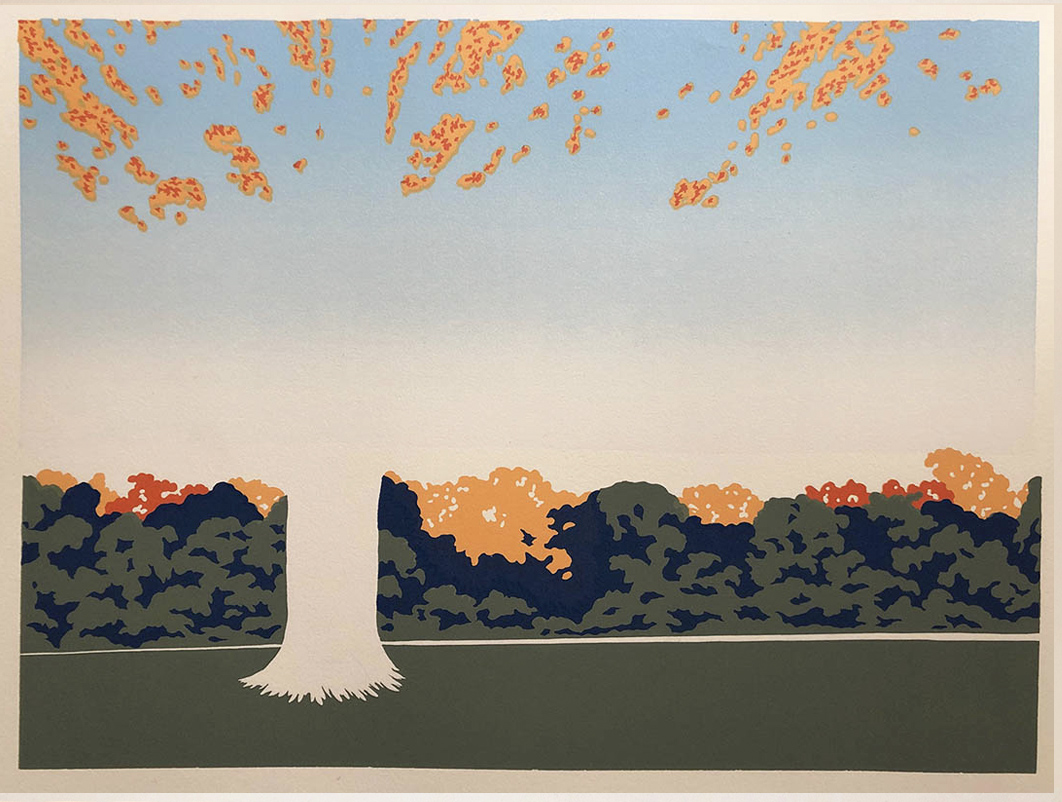
The next two carvings and prints go much smoother, although some changes are still made along the way. The green ink gets mixed up a few times before acchieving a muted green. Then, in the carving and printing of the dark blue shadows, I decided to cover up the orange sunburst on the horizon. The sunburst effect will be created in an experimental way, later in the process.
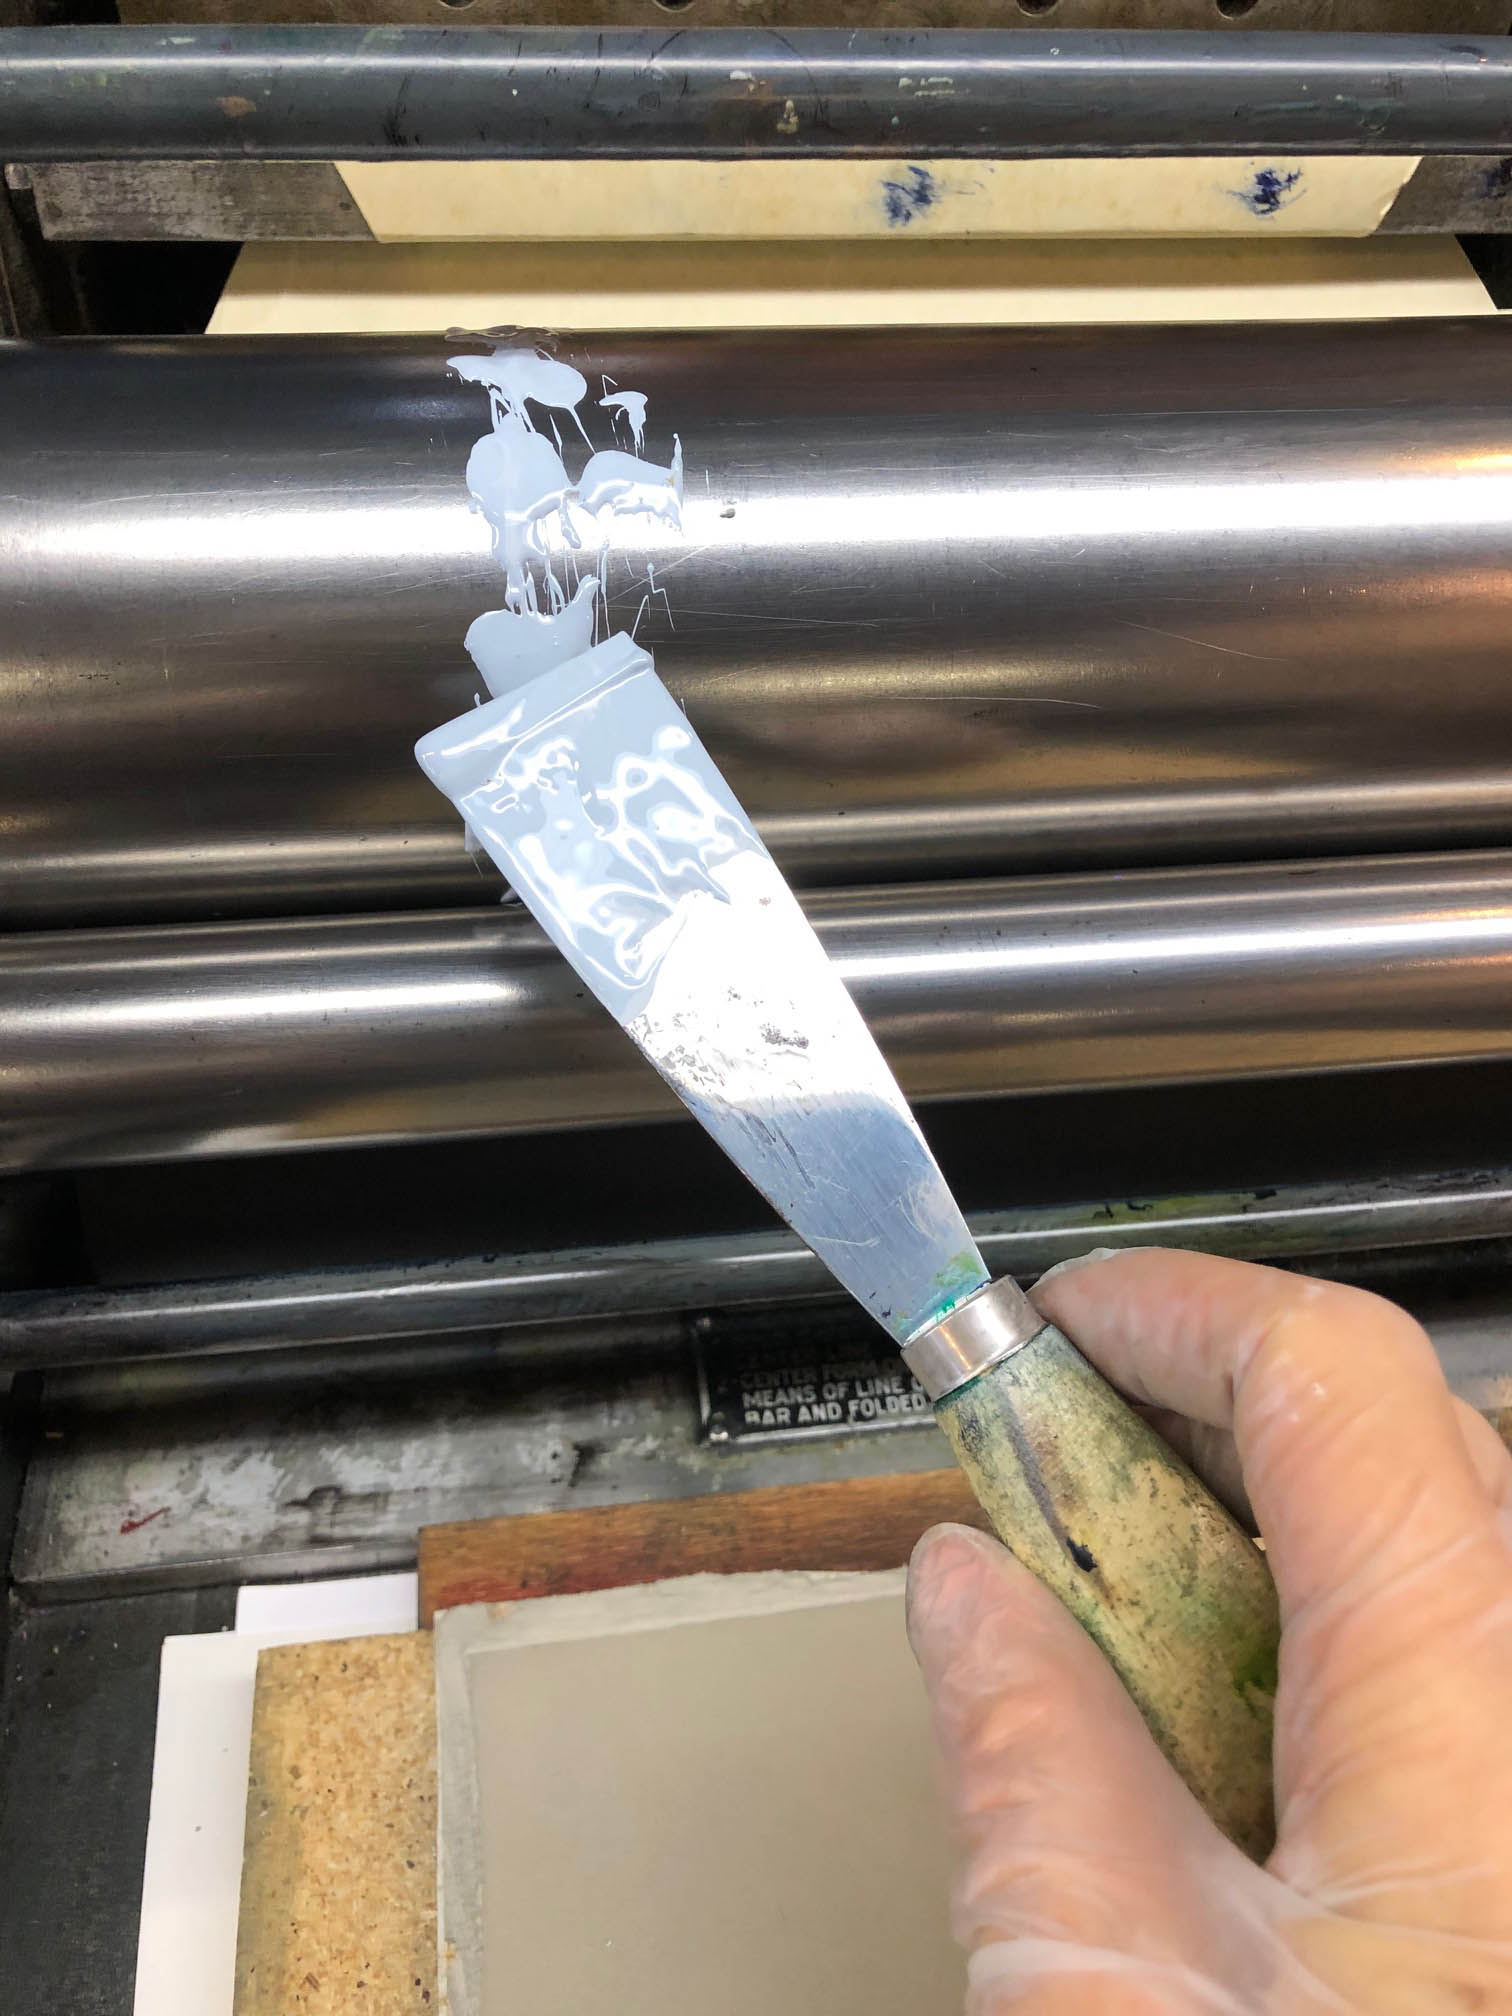
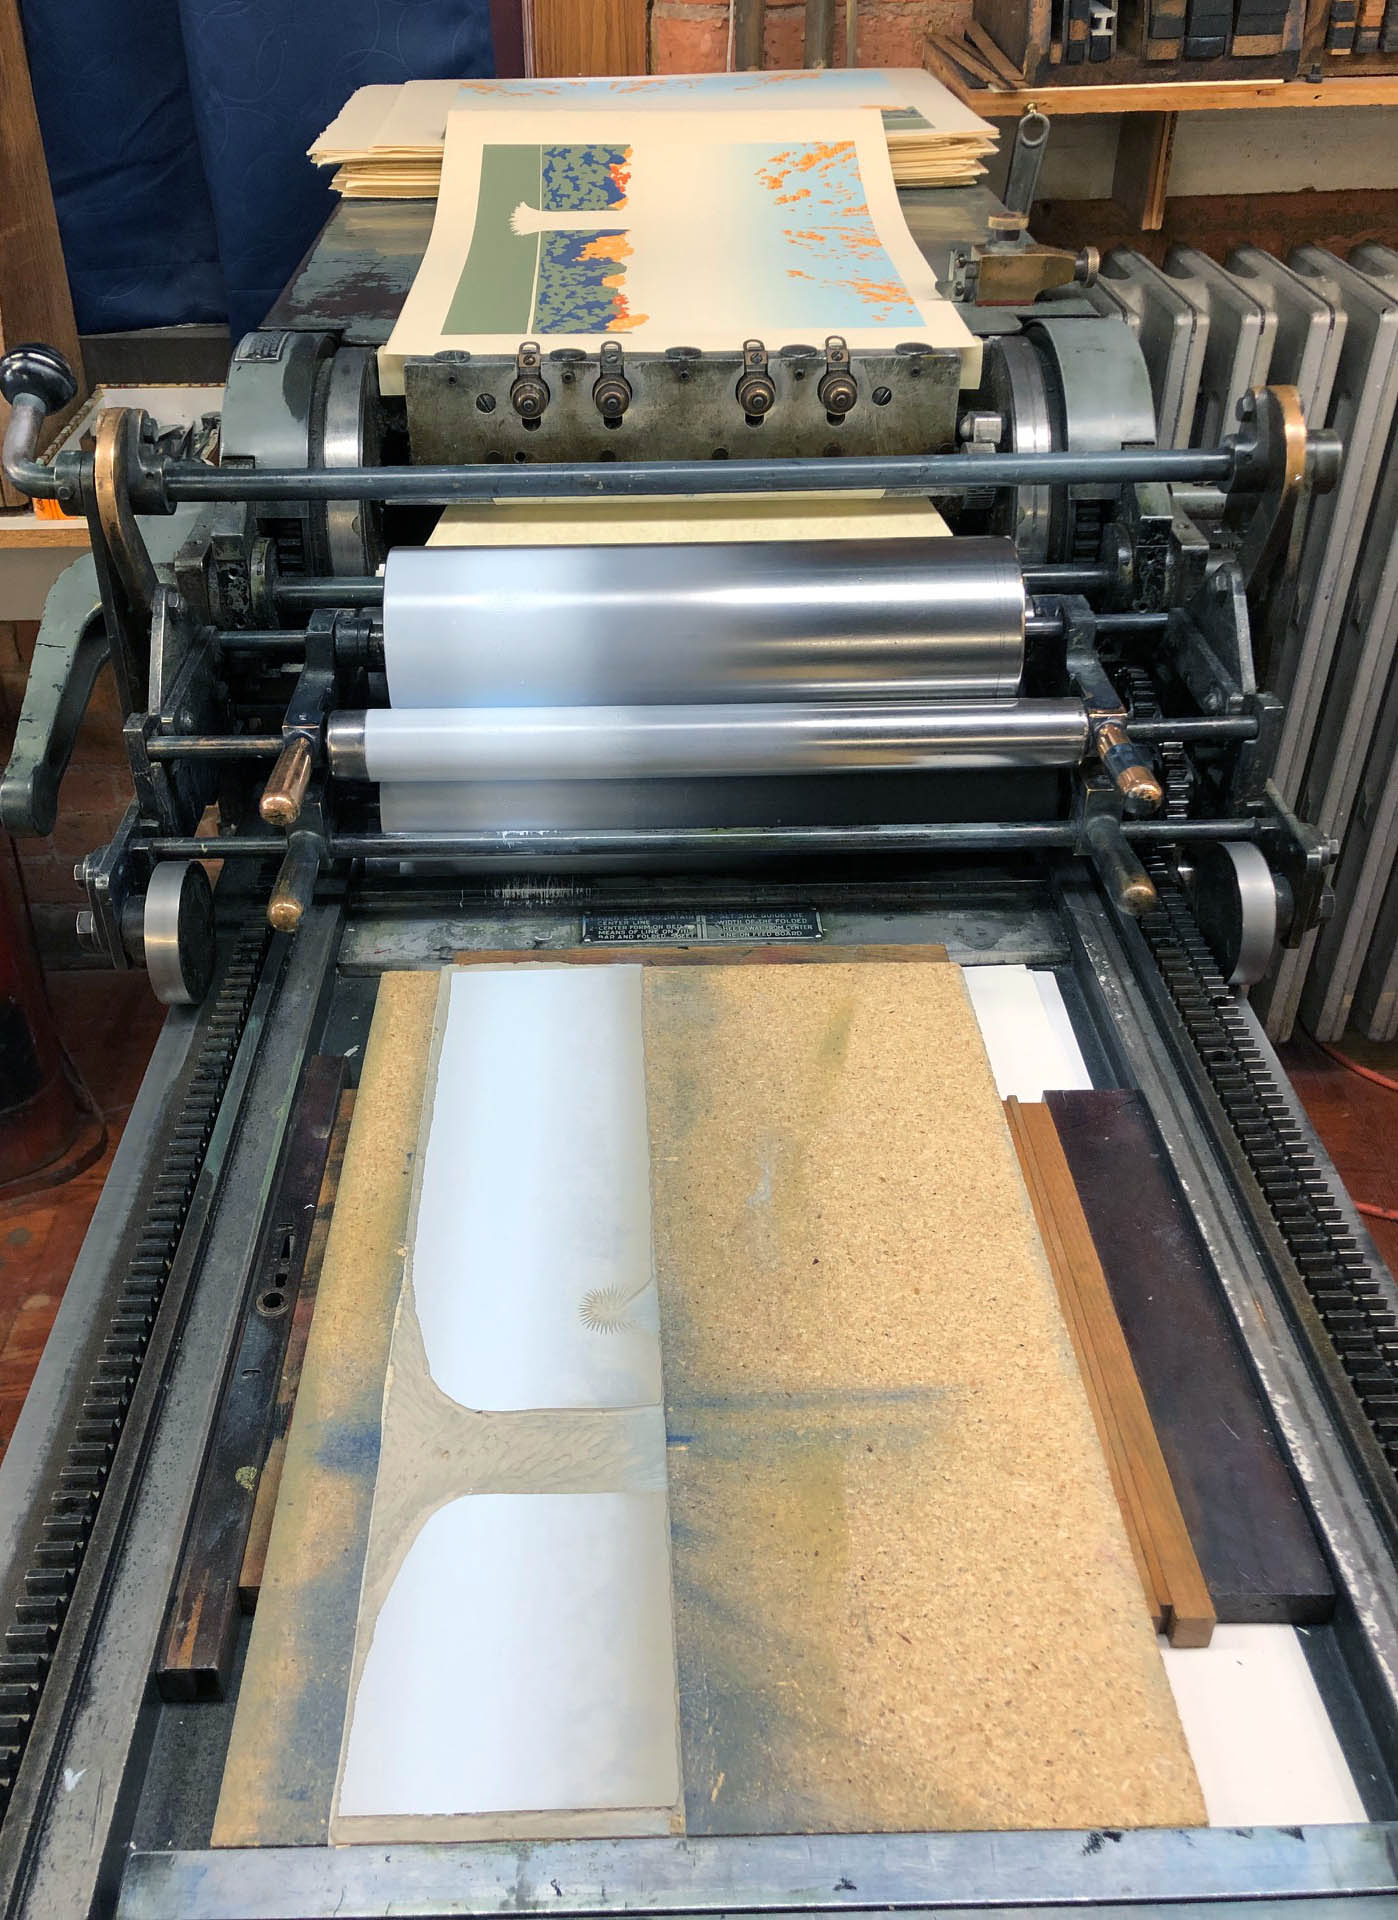
Now it’s time to print a layer of mist on the ground. Exciting but kinda scary, because I’m not sure how it will look. I do a very simple carving for the area, Mix up a pale blue, blob a little on the roller in the right spot and move the big spinning roller back and forth, just enough to create a band of mist with soft edges.
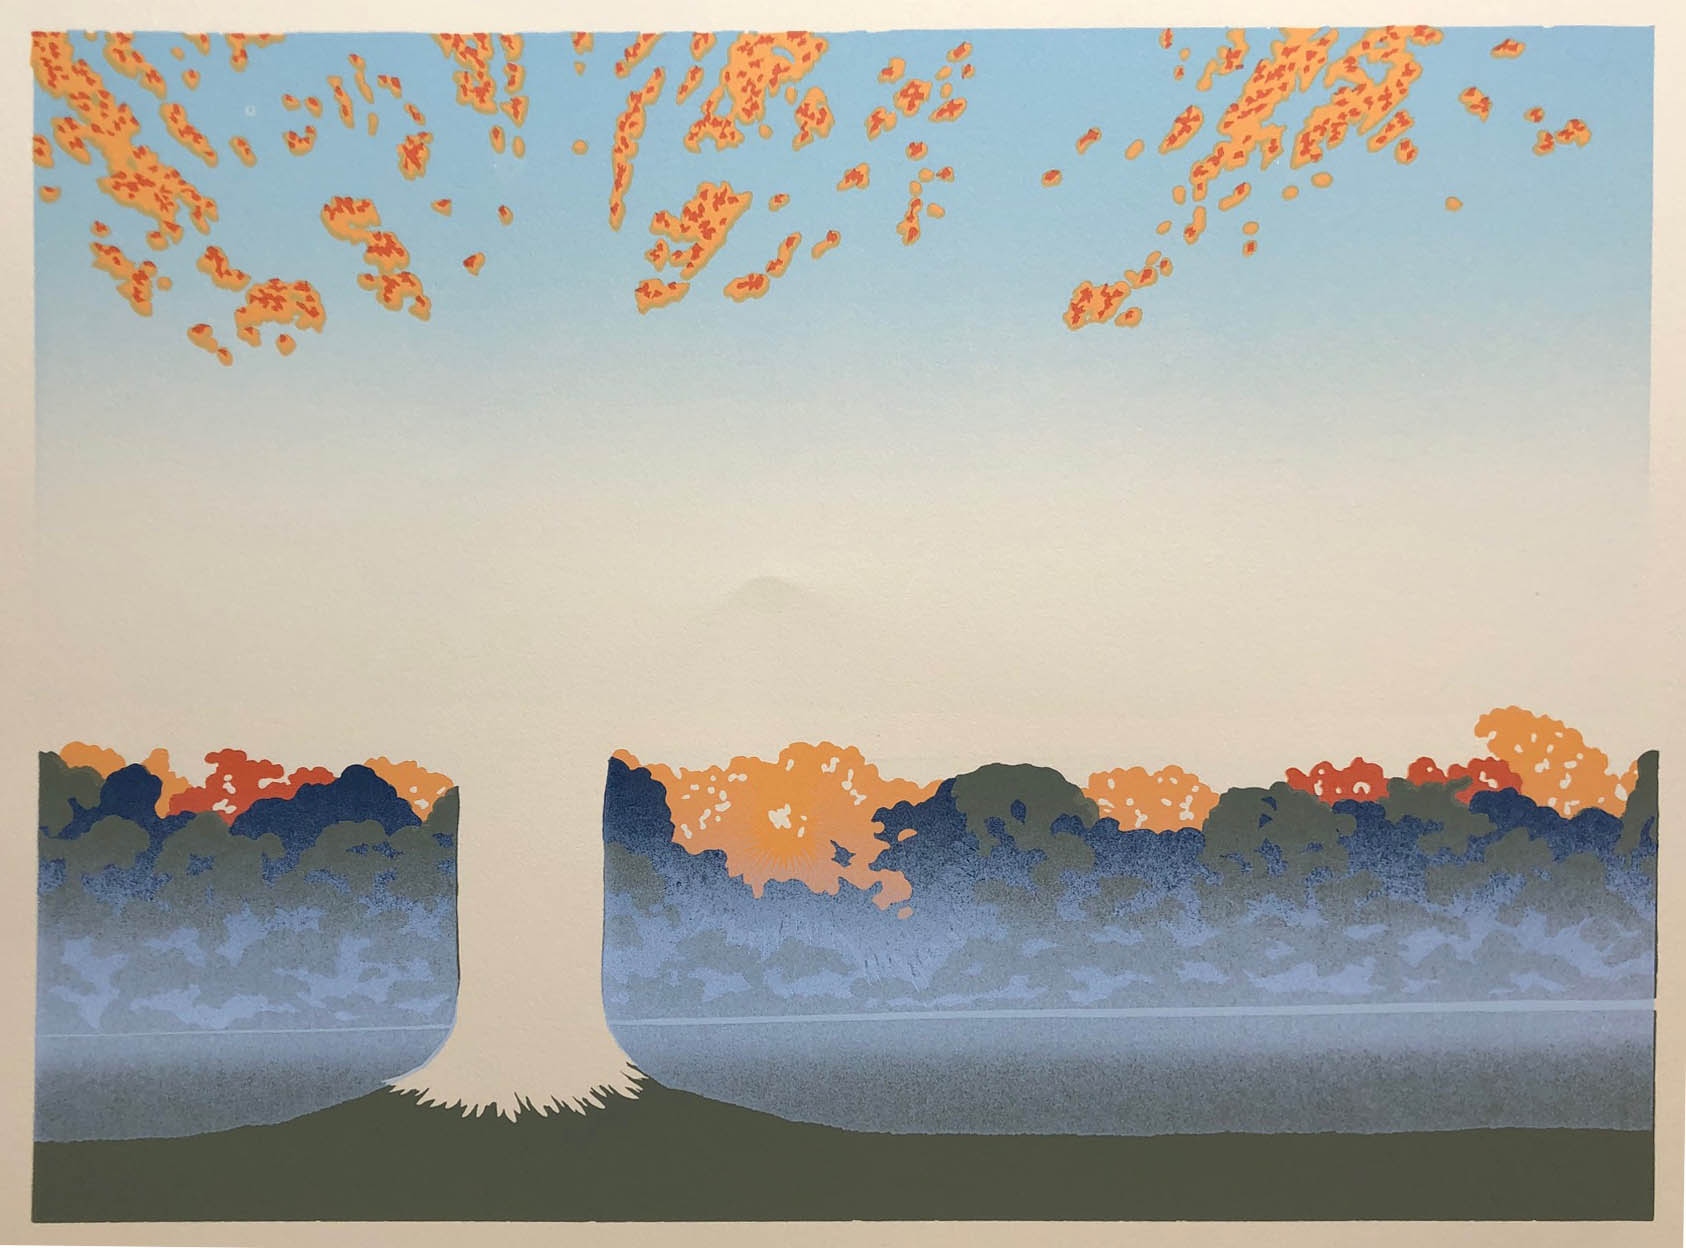
Surprise! Underneath the mist, the dark tree shadows turn light, while the lighter green shapes stay dark. This is the opposite of what I expected.After I finish cursing, Bob and I conclude that the mist shows up more on top of multiple layers of ink. The green is only one layer; the dark blue is a second layer, so the mist ink lays on top of it, rather than being absorbed. Ugh. But I had planned to do two hits of mist per print. Let’s see what happens after the second hit…
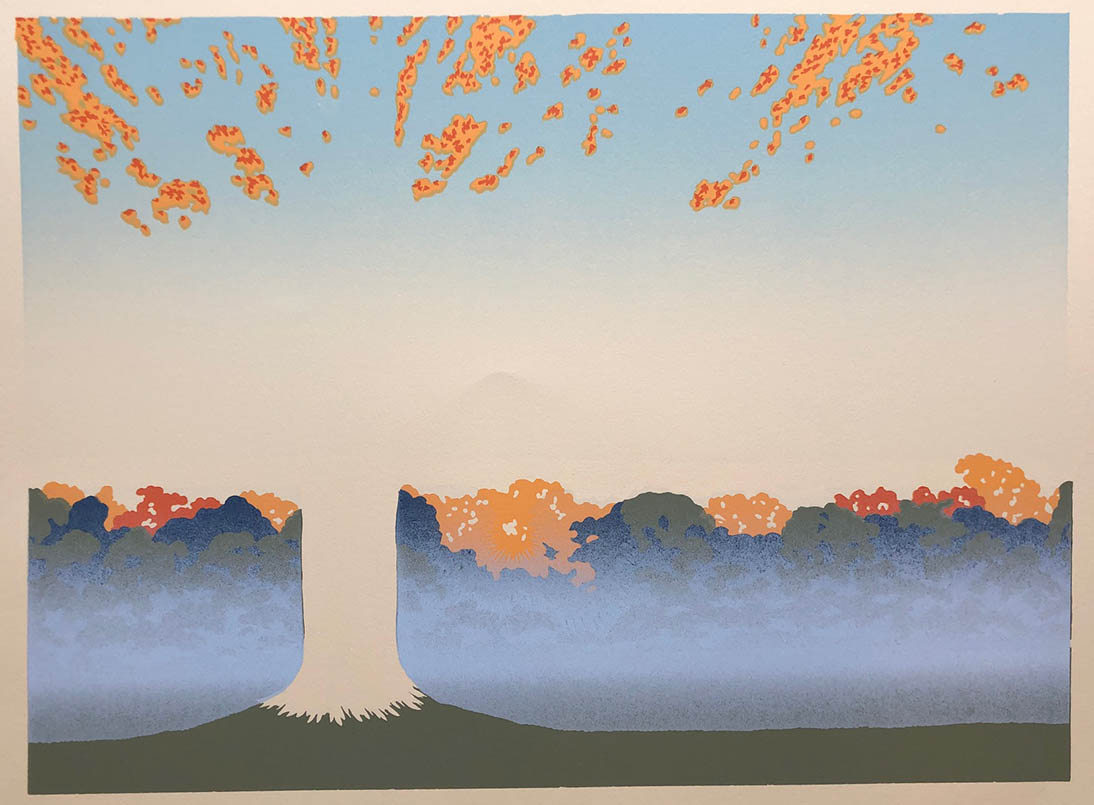
Hey, not bad. I think I can live with this. It does remind me of that magical morning. So for every mist print, I add ink to the roller, blend it, run the print through once, wipe the top edge of the carving so no hard line appears, run the print through a second time, and wipe the top edge of the carving again. It takes six hours to do all 240 prints.
The foreground tree finally comes next! Like the carvings before, I draw with a sharpie on a sheet of clear acetate, laid over one of the prints. The drawing is transferred and carved, which took almost 2 weeks!
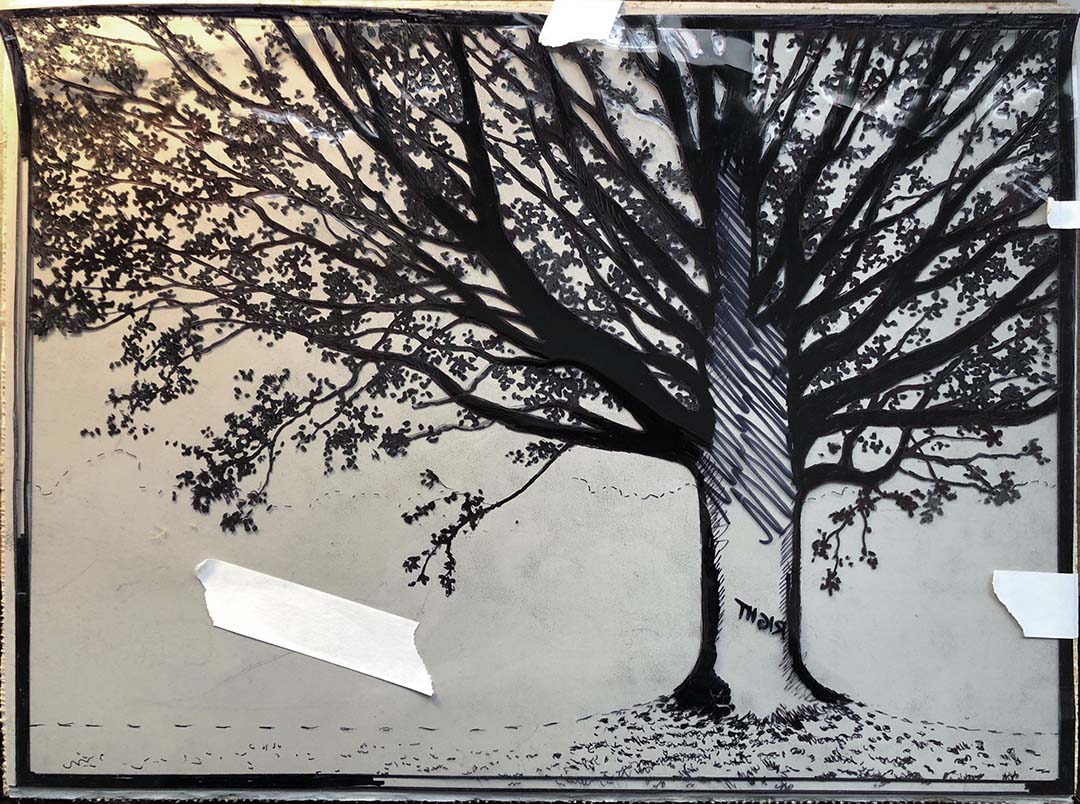
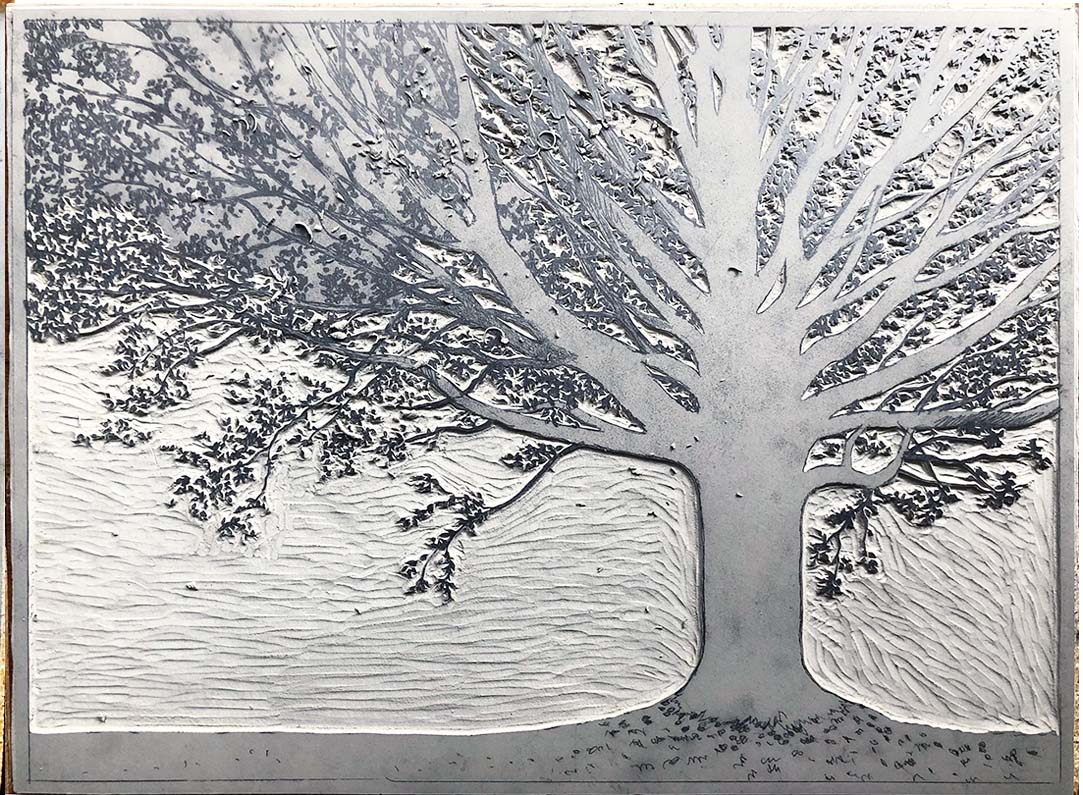
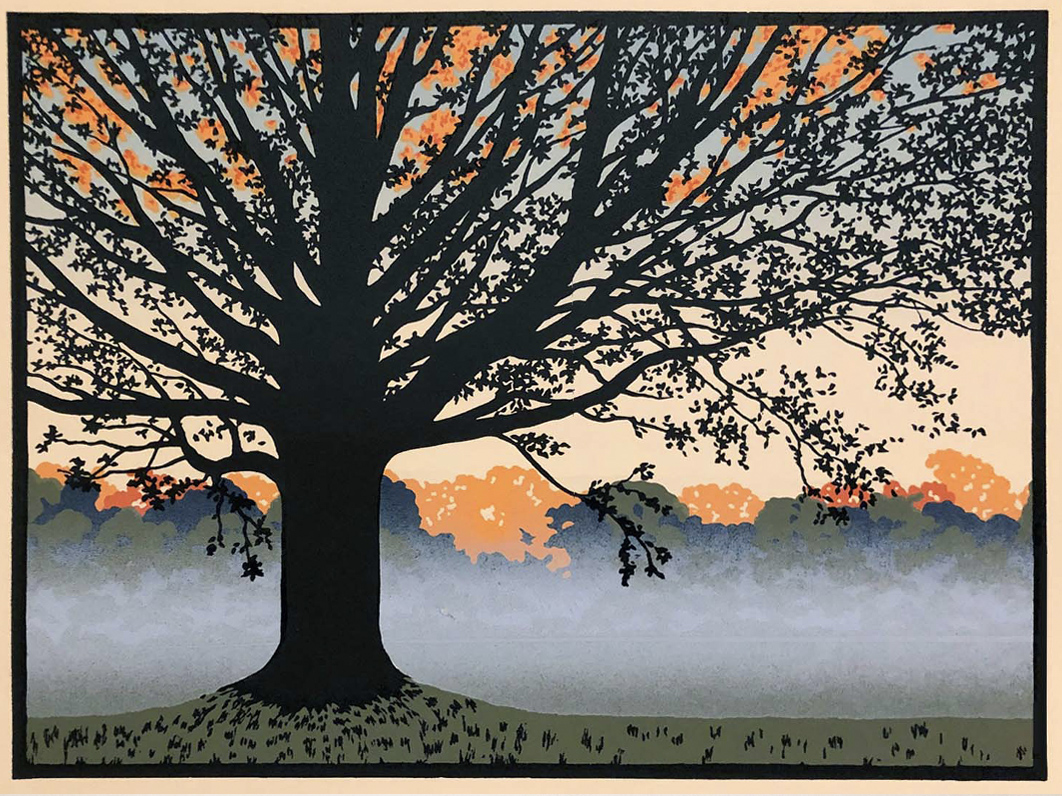
The tree gets printed with blue-black ink. Yay! It’s coming along nicely. But we aren’t finished yet…
Next, I want some brown leaves to fill in the tree better. So I carved and printed yet another block of leaves.
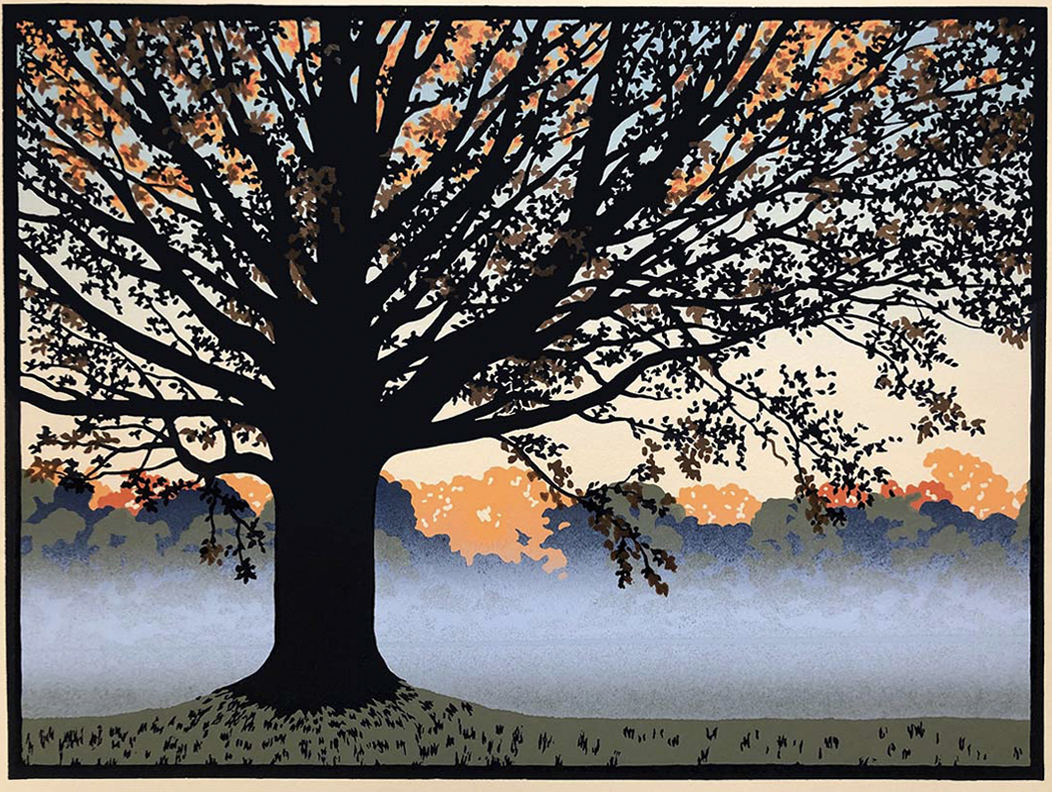
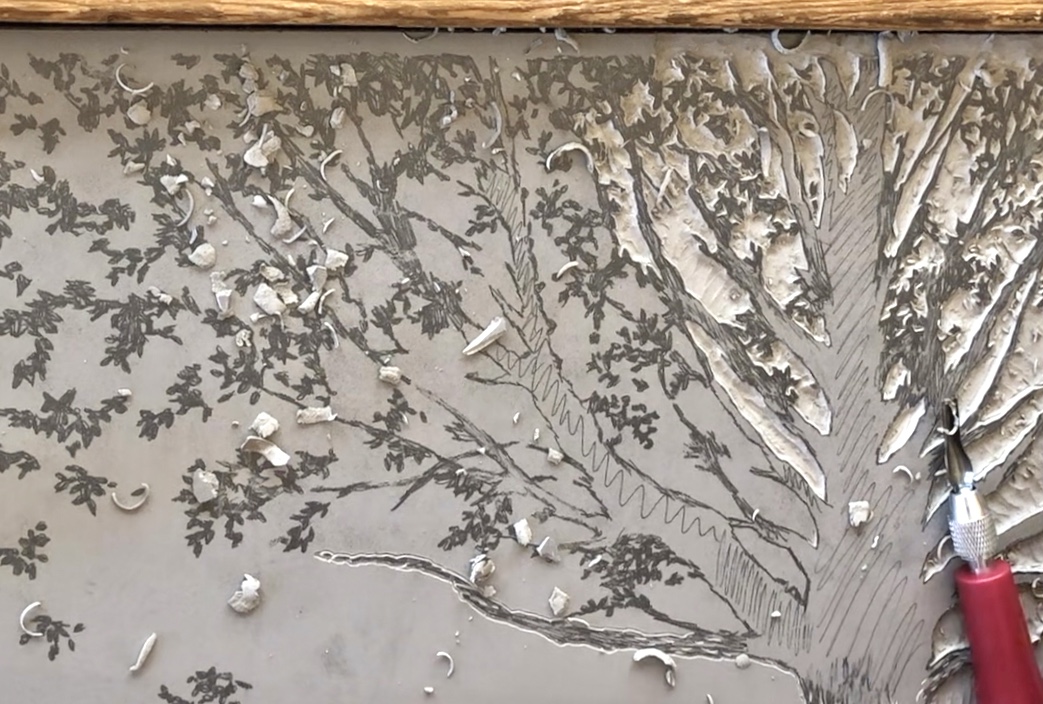
We’re almost done with the tree! The next carving will darken and even out the tree trunk, which has shiny and lighter areas due to overlapping previous ink layers. So once again, I lay a clear sheet of acetate over a print and do a Sharpie drawing of the shapes I want to add. This carving will also add bark texture and give contrast to the lighted branches and leaves.
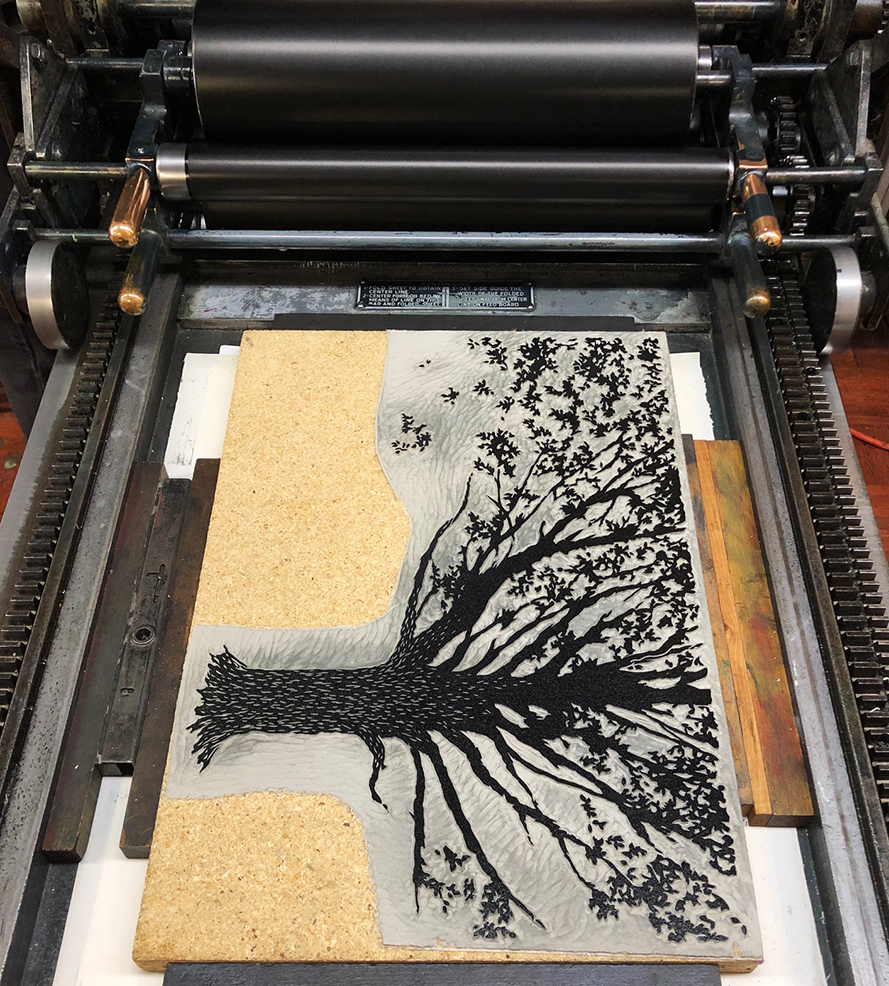
To the left is the new carving, inked up on the vandercook press.
And to the right is the final look of the tree! Only three more steps to go to add some finishing touches!
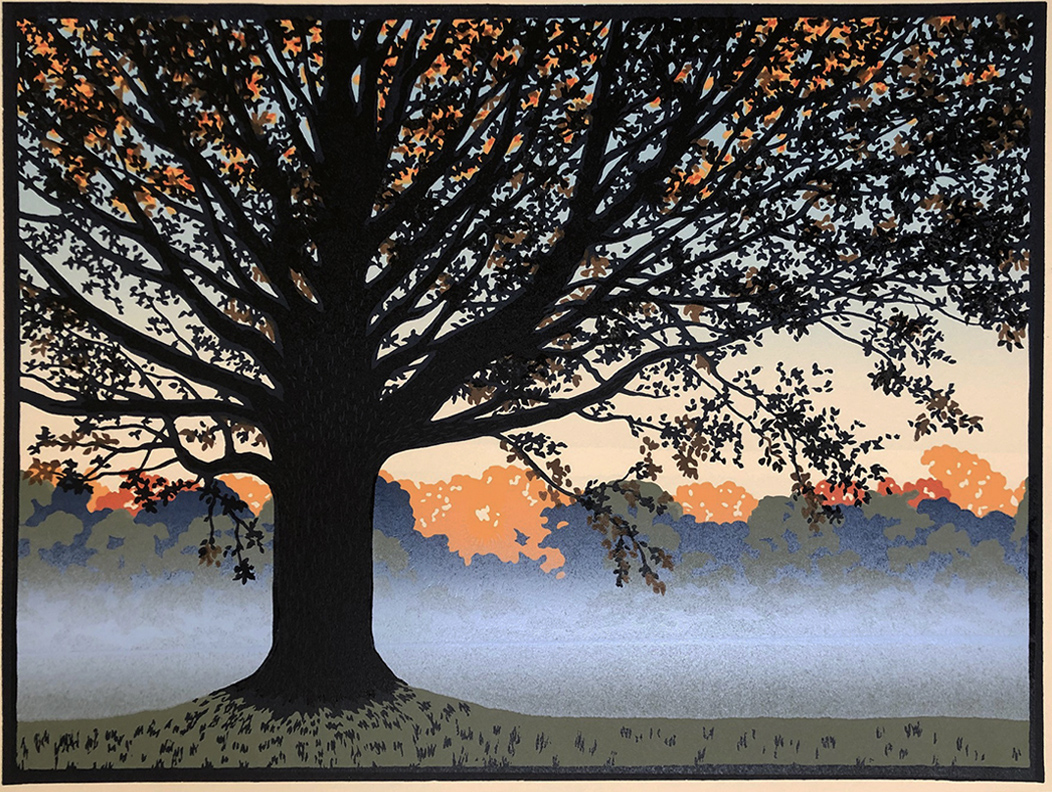
My next goal is to go back to that mist a third time, to further obscure that horizontal line. The previous carving was trashed, so I do a new carving. Below is the carving inked up on the press. Notice that the pale blue ink doesn’t reach the edges. I want a narrow strip of mist with soft edges, to blend in the center of the mist underneath. This means having to take a rag and wipe the edges of the carving before pulling each of the 150+ prints.

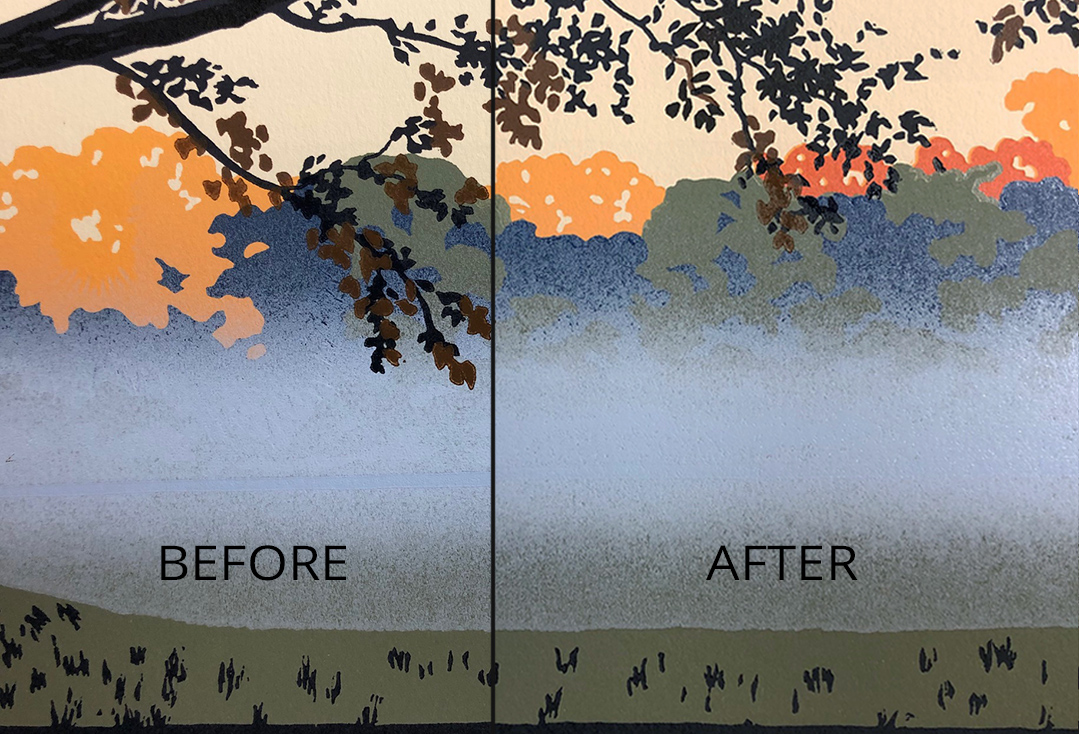
The third printing of mist is a success! Lastly, I want to refine the grass. Those black tufts in the grass need toning down. But my previous grass carving has been trashed, so I do a new carving. I cut some little grass blade lines in there, to allow bits of the lighter grass color to show through. I carve very carefully where the grass meets the jagged tree roots, in hopes that it will fit just like a jigsaw puzzle piece. I also hope the black tufts will slightly show through the ink as darker green bits.

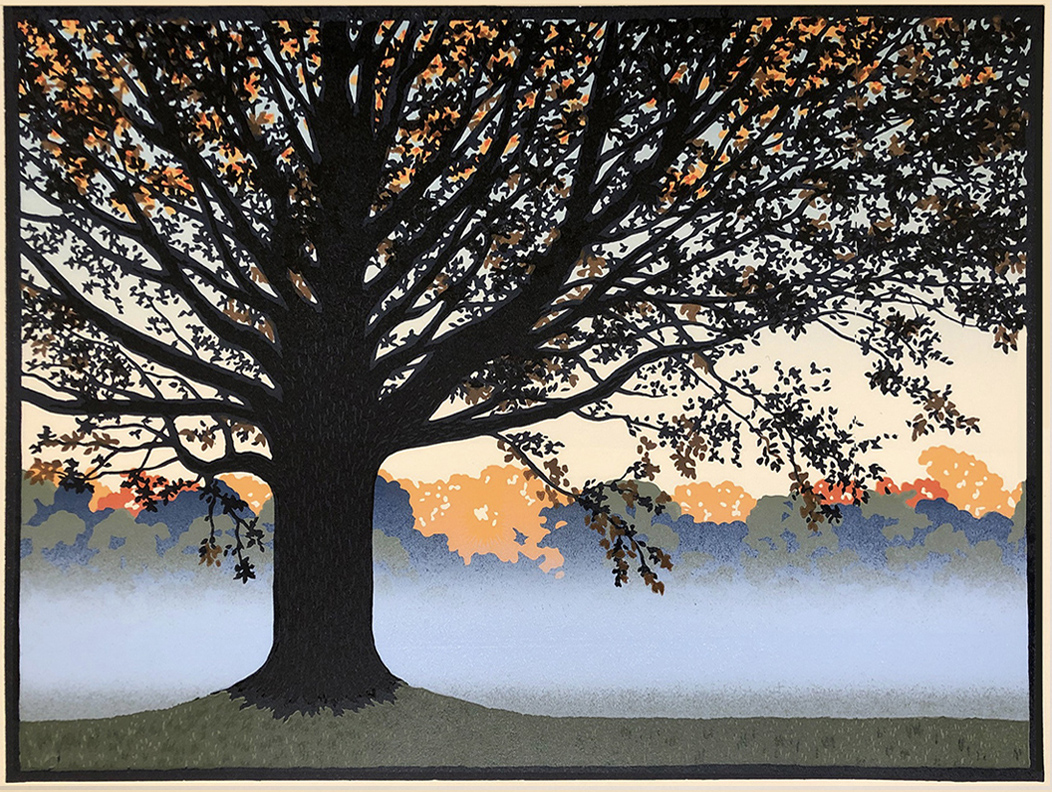
Printing is done, but I want to do one final thing, which I’ve never done on a block print before: hand-painting! Each of the 150 prints gets a hand-painted sunburst, in white, orange and pink.
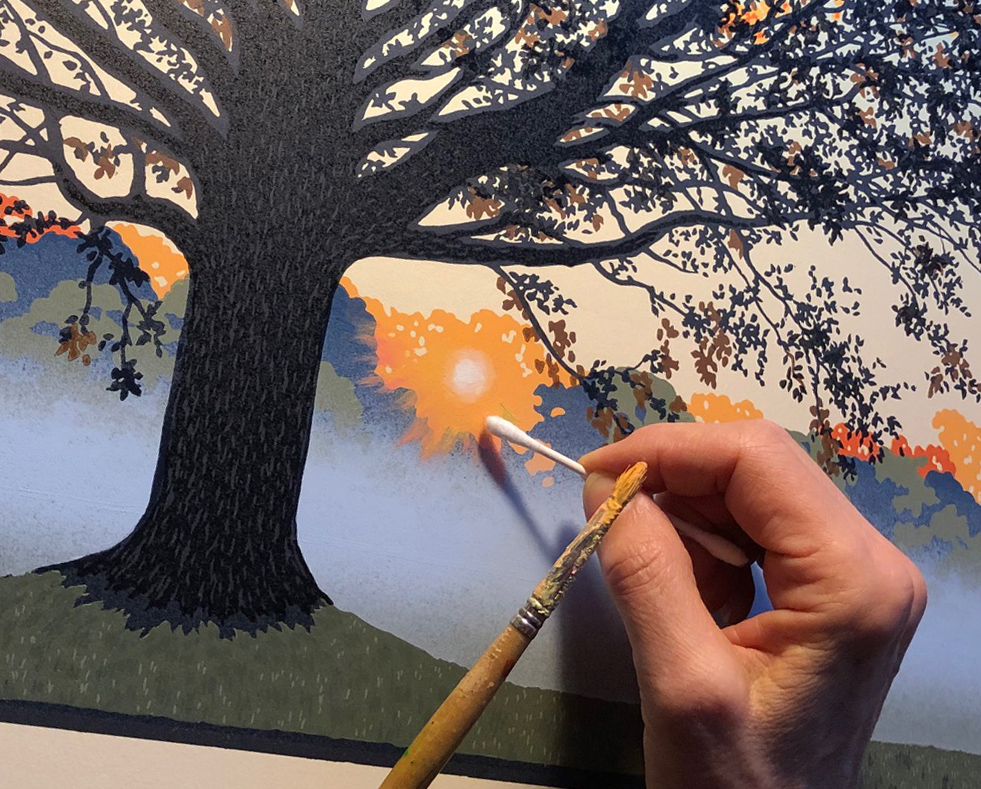
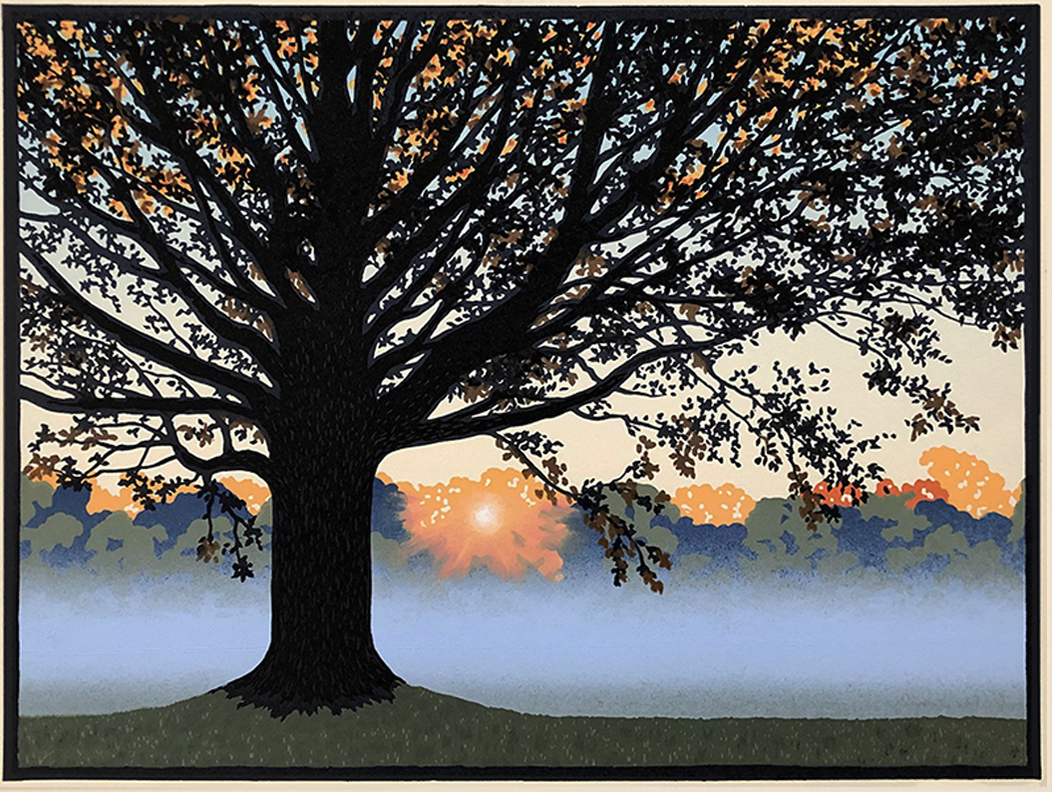
And Morning Mist is finally finished! It was a very long, twisty but worthwhile road. It brings me back to that amazing early morning walk last fall when the sun rose through a heavy layer of ground mist, and turned the treetops orange.
See “Morning Mist” and its framing options in our online store.
